11 min read
Mac Trash Won't Empty? How to Force Empty It Safely
Trash won't empty on your Mac? Fix “item in use”, locked files, permission errors and error -8003, find what's holding a file, and force-empty it safely.
- Troubleshooting
- How-to
- Storage
You click Empty Trash and get "The operation can't be completed because the item is in use", a permissions error, or a bare code like -8003, and the Trash stays full. There are only a handful of causes, and each has a specific fix. This guide works through them least-destructive first, shows how to find exactly which app is holding a file instead of guessing, and ends with a safe way to force-empty the Trash from Terminal.
The short version
- "In use" means an app still has the file open. Find it with
lsof(below), quit it, and empty again. If you can't tell which app it is, restart. - Locked items need unlocking: Get Info → untick Locked, or
chflags -R nouchgin Terminal. - Permission errors mean the item belongs to another user or the system. Fix it in Get Info → Sharing & Permissions.
- Holding Option doesn't force anything. Apple documents it only as a way to skip the confirmation.
- Control-click an item in the Trash → Delete Immediately removes just that item, so one bad file can't block the rest.
- Terminal's
rmis the last resort, scoped to the Trash. Never disable System Integrity Protection to empty it.
Quick fixes, in order
- Read the error. It usually names the item that failed. Everything below is about that one item, not the whole Trash.
- Quit the app that last used the file, then empty again. Close any Quick Look window, and turn off Finder's preview pane if it's showing the file.
- Relaunch Finder. Press ⌥⌘Esc, select Finder, click Relaunch (Apple).
- Delete the blocking item on its own. Open the Trash, Control-click the item and choose Delete Immediately, then empty the rest.
- Restart. This closes every process that could be holding a file.
- Start in safe mode, which stops login items and non-essential extensions from loading. On Apple silicon, shut down and hold the power button until Loading startup options appears. Select your startup disk, then hold Shift and click Continue in Safe Mode. On Intel, hold Shift as the Mac starts (Apple). Empty the Trash, then restart normally.
"The item is in use": find what's holding it
Finder won't delete a file that another process has open. Instead of quitting apps one by one, ask the system which process has files in the Trash open:
lsof +c 0 -n 2>/dev/null | grep -F "/.Trash"
Each line shows the process name, its PID (process ID) and, at the end, the file. The match covers your own Trash (~/.Trash) and external drives' Trash folders (.Trashes). Without sudo, lsof sees only your own processes, so if nothing turns up, run it again with sudo in front.
Quit that app normally, or in Activity Monitor if it's a background helper. Only if it refuses, end it with its PID:
kill 12345
Plain kill asks the process to exit cleanly. Save kill -9 for processes that ignore it, since it gives them no chance to save anything.
You'll see advice to use lsof +D ~/.Trash instead. It needs to read the Trash folder itself, which macOS's privacy protection blocks unless Terminal has Full Disk Access. When we ran it on macOS 27.2 without that permission, it printed nothing, with no error. The grep version above found two open files in the same Trash.
The usual culprits
- A disk image that's still mounted. If you trashed a
.dmgwhile its volume was open, eject the volume in the Finder sidebar, then empty. - An app you trashed that's still running, or its menu bar helper.
- Previews: a Quick Look window, Finder's preview pane, or the document still open in Preview.
- Spotlight, a backup app, a cloud sync client or a virtual machine reading the file at that moment. Wait a minute, or quit the app.
Locked items
Apple's Finder asks you to confirm before trashing a locked item, and a locked item already in the Trash can stop it emptying.
In Finder: select the item in the Trash, press ⌘I and untick Locked. For several items, select them all and press ⌥⌘I to get one Inspector window for the whole selection.
In Terminal: first give Terminal Full Disk Access in System Settings → Privacy & Security → Full Disk Access, then quit and reopen it. Without that, even ls ~/.Trash fails with "Operation not permitted". Then list the Trash with its file flags:
ls -lO ~/.Trash
uchg in the flags column is the lock Finder sets. To clear it on everything in the Trash:
chflags -R nouchg ~/.Trash/*
The lock beats Terminal too. In our test, rm -rf on a locked dummy file failed with "Operation not permitted". After chflags nouchg, the same command worked. A rarer system-level lock, schg, needs sudo chflags -R noschg plus the item's path.
Permission and ownership errors
"You don't have permission" usually means the item belongs to another account or to the system. Typical examples are an app installed for all users, files copied from another Mac, or a folder from an old backup.
- Select the item in the Trash and press ⌘I.
- Expand Sharing & Permissions and click the lock to authenticate.
- Add yourself with + if you're not listed, and set your privilege to Read & Write.
- For a folder, choose Apply to enclosed items from the Action pop-up at the bottom (Apple).
- Empty the Trash.
For one stubborn item, a scoped sudo rm (see the Terminal section) does the same job.
Items from external drives
Files deleted from an external drive stay on that drive, in a hidden .Trashes folder, and appear in your Trash only while it's connected. The common snags:
- The drive is read-only. macOS mounts Windows-formatted (NTFS) drives read-only, and a damaged drive can end up the same way. Run Disk Utility → First Aid, and copy off anything important first.
- The files belong to a user on another Mac. Select the drive, press ⌘I and, under Sharing & Permissions, tick Ignore ownership on this volume, which treats every file as yours (Apple). It isn't offered for Time Machine drives or the startup disk.
- You trashed Time Machine backups. This is behind many old -8003 reports. Select them in the Trash, choose File → Put Back, and delete old backups with Time Machine's own tools (
sudo tmutil delete, seeman tmutil).
System Integrity Protection and protected app data
If Terminal says "Operation not permitted" even with sudo, and the item isn't locked, something stronger than file permissions is in the way. Either Terminal lacks Full Disk Access, or the item is covered by System Integrity Protection. SIP guards macOS's own files and apps and restricts even the root user, and Apple applies it to apps' data containers too. sudo overrides neither.
Put the item back rather than fighting it. Parts of macOS aren't meant to be deleted, and another app's data should be removed through that app or by uninstalling it. Never turn off SIP to empty a Trash. You'd be removing a core defence for every app on the Mac to delete one file.
iCloud Drive items
Items deleted from iCloud Drive also land in your Trash, and Apple empties them automatically after 30 days whatever your settings. Because they sync, emptying can stall when iCloud is offline, signed out or stuck, and Apple Community threads describe deleted items coming straight back.
Check you're online and signed in, give sync a few minutes, and try again. If items keep returning, delete them from Recently Deleted in iCloud Drive at iCloud.com, then empty the Trash on your Mac. The iCloud Drive guide explains how its local copies use space in the first place.
Error -8003 and other codes
Apple has no support article on Trash error codes. Most are old Mac OS file errors that Apple's developer SDK still names in a deprecated header, MacErrors.h. -8003 isn't in it, and Apple has never explained it. The causes below are the patterns users report, not Apple definitions.
| Code | Apple's name | Usual cause in the Trash | What to try |
|---|---|---|---|
| -8003 | None | Locked items, permission problems, trashed Time Machine backups | The locked and permission fixes; Put Back backups |
| -43 | File not found | Item moved or renamed, or its drive disconnected | Relaunch Finder, reconnect the drive |
| -36 | I/O error | A disk read or write failed, often on a failing external drive | First Aid, then back up |
| -50 | Error in parameter list | An odd file name or non-Mac file system | Rename, or delete in Terminal |
| -45 | File is locked | A locked item | Untick Locked |
| -47 | File is busy | An app has it open | The lsof check |
| -54, -5000 | Permissions error, access denied | Owned by someone else | Sharing & Permissions |
When the disk is completely full
At 100 percent full, even emptying the Trash can fail, because macOS needs a little working space. Delete the single largest item with Delete Immediately, restart, or use safe mode. If the Mac won't even log in, the full startup disk guide covers deleting from Recovery.
Force-empty the Trash from Terminal, safely
Do this only after the fixes above, with Terminal granted Full Disk Access.
One item (safest). Type rm -rf with a trailing space, then drag the item from the Trash window into Terminal, which pastes its path with spaces escaped. Check the path starts with /Users/yourname/.Trash/, then press Return. The result looks like this:
rm -rf ~/.Trash/"Old Project Folder"
Everything in your Trash (clear locks, then delete):
chflags -R nouchg ~/.Trash/*
rm -rf ~/.Trash/*
If the Trash holds only hidden files, zsh says "no matches found" and does nothing.
An external drive's Trash. Your folder on the drive is named with your user ID, which id -u prints (usually 501). Replace DriveName:
rm -rf "/Volumes/DriveName/.Trashes/$(id -u)/"*
With sudo, only for a single item owned by another user or root, after the permission fix failed:
sudo rm -rf ~/.Trash/"Item name"
Emptied, but the space didn't come back
When the Trash is empty and Storage hasn't moved, something else is holding the space. Usually it's a Time Machine local snapshot taken before you deleted (how to remove them). Otherwise look at another user's or an external drive's Trash, or Photos' Recently Deleted, which keeps items for 30 days (Photos guide). The startup disk guide walks through each check.
Where Disk Clean AI fits
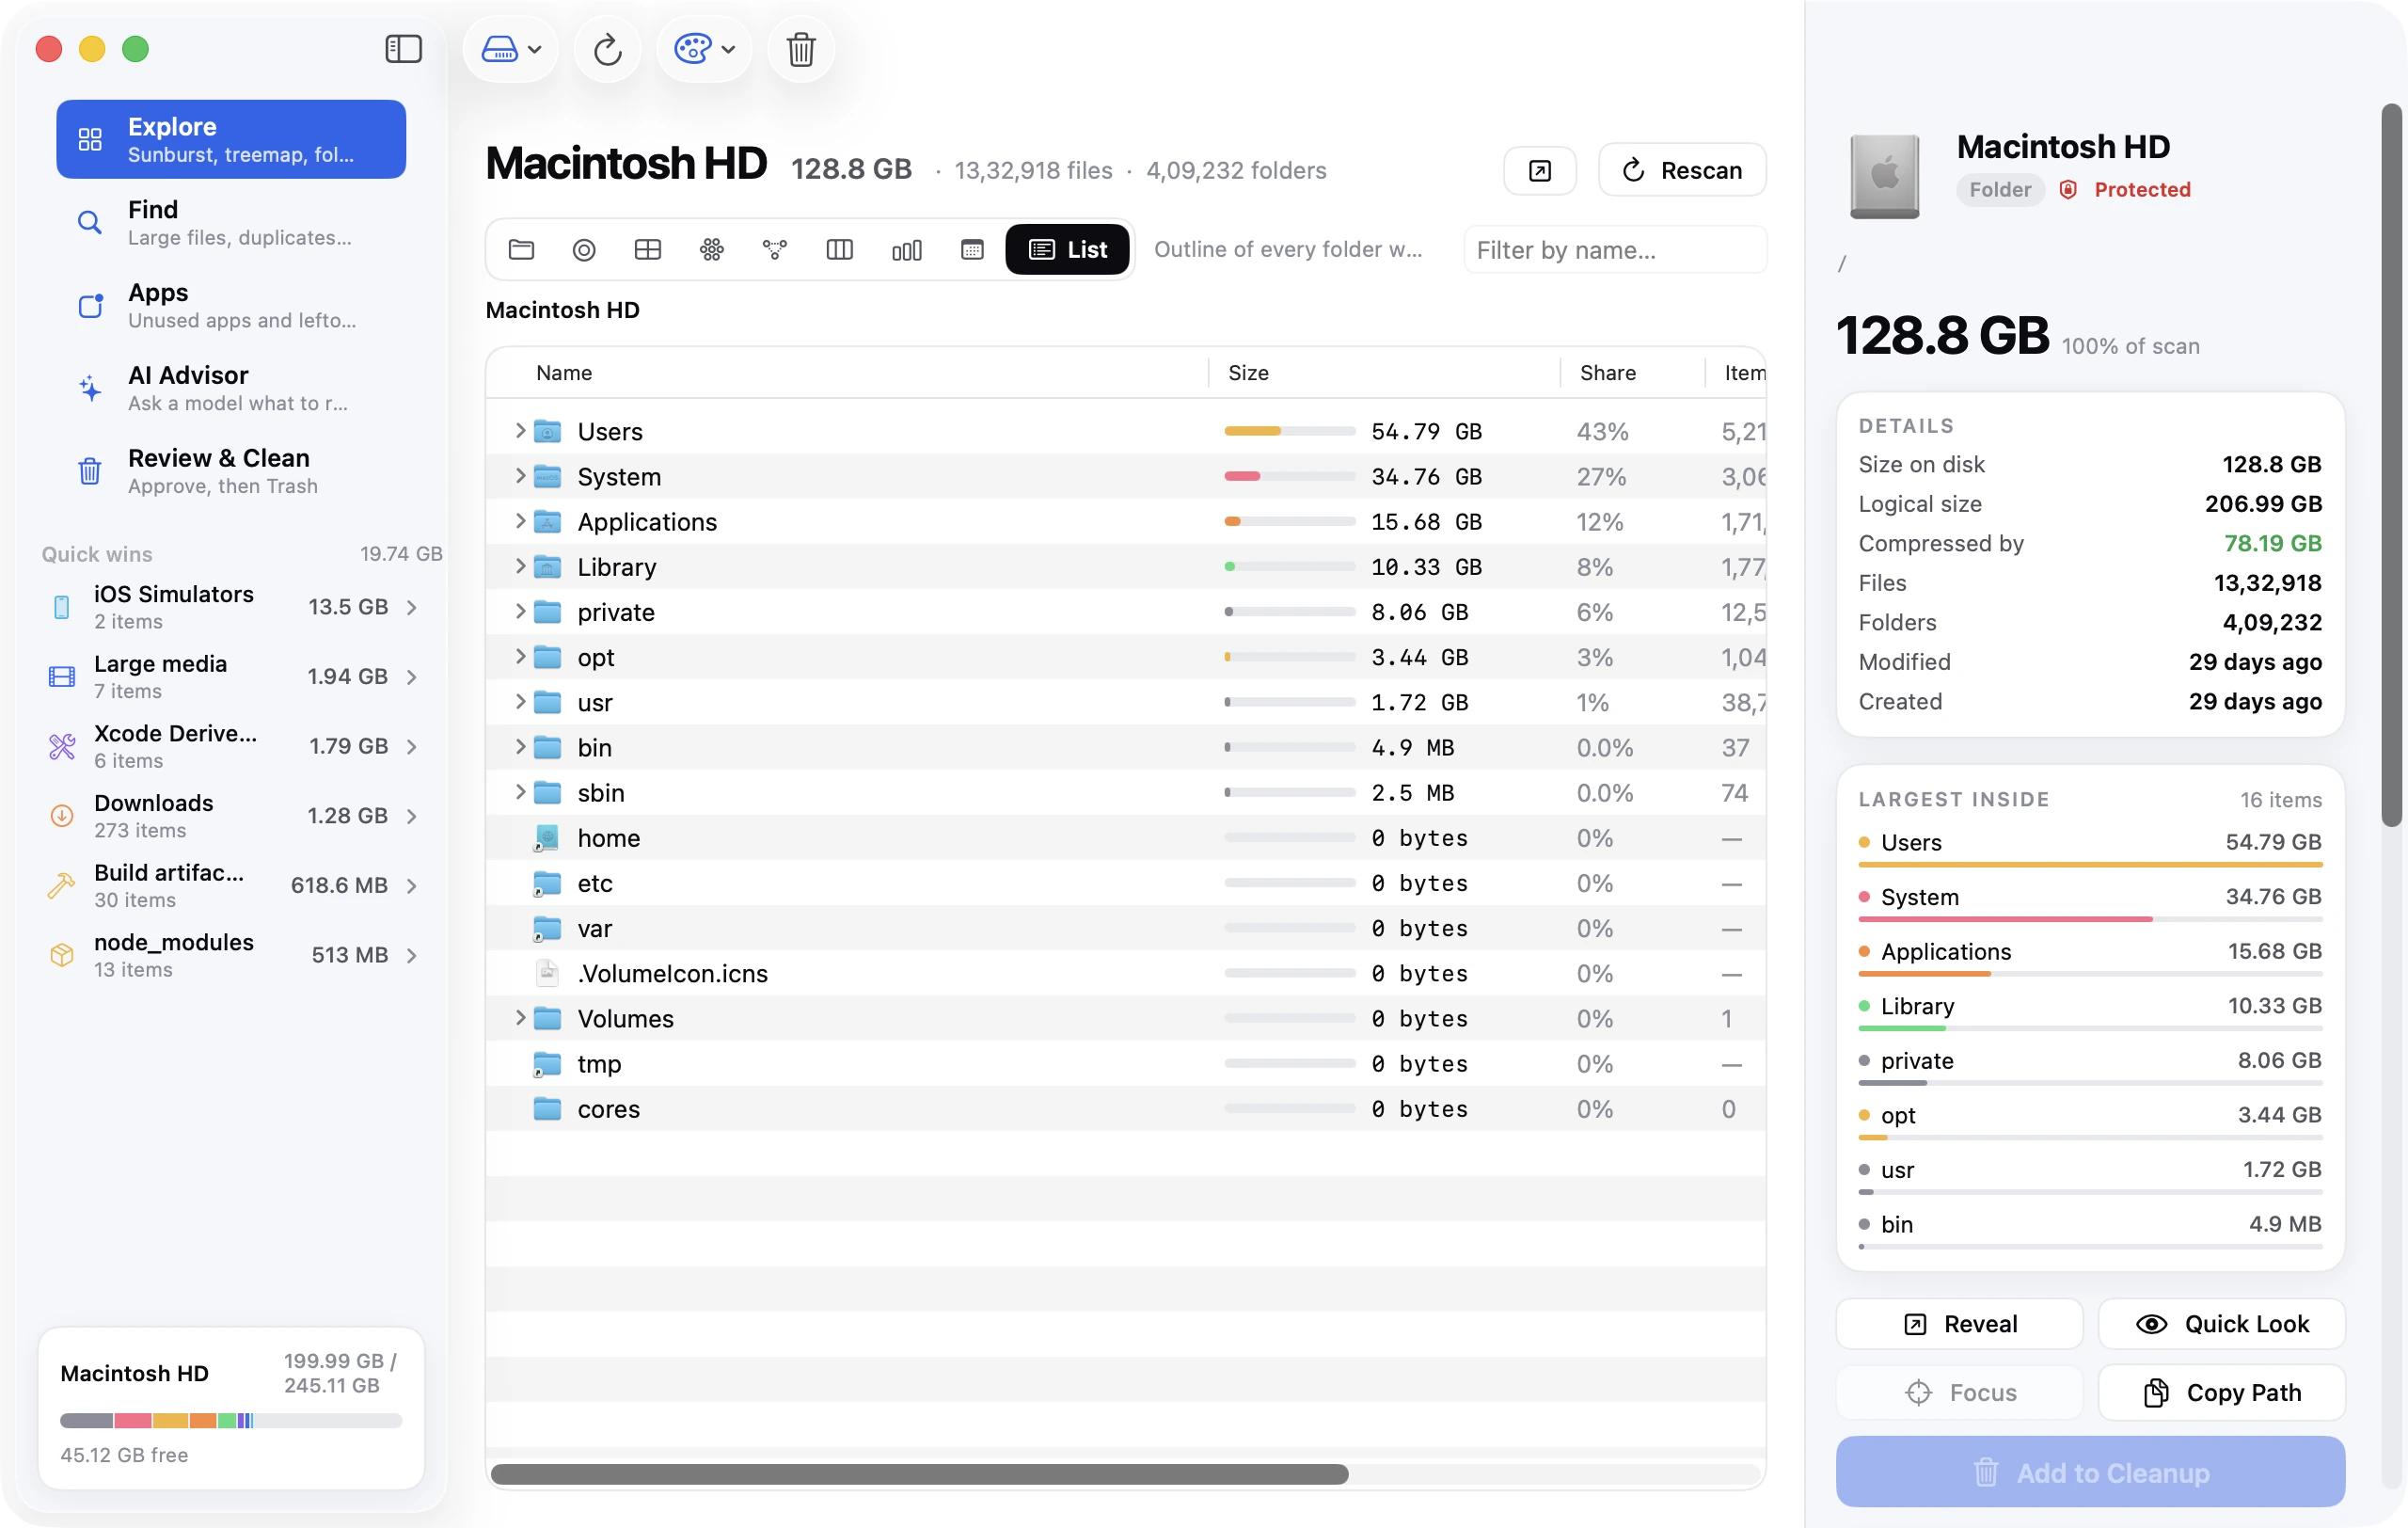
Disk Clean AI never empties your Trash or deletes anything outright. Everything you approve in Review & Clean moves to the Trash with one-click Undo, so emptying stays your final step, in Finder. With Full Disk Access on, the scan lists the Trash as a Quick Win with its total size and largest items, so you can see what's waiting. The sidebar counts what the app has moved there, as a reminder that emptying is what releases the space. If the disk is full, the same scan finds what else can go: caches and logs, Downloads, large media and build folders. See the free-up-space guide for the manual route.
FAQ
Why can't I empty my Trash on Mac?
Usually one item is the problem: an app still has it open, it's locked, it belongs to another user, or it's on a read-only or disconnected drive. The error names the item, so fix that one and try again.
How do I force empty the Trash?
Quit apps, relaunch Finder, then Control-click the stuck item and choose Delete Immediately. If that fails, restart or use safe mode. As a last resort, give Terminal Full Disk Access and run chflags -R nouchg ~/.Trash/*, then rm -rf ~/.Trash/*.
What does error code -8003 mean?
Apple has never documented it. Users report it with locked files, permission problems and Time Machine backups dragged to the Trash, so work through those fixes in turn.
How do I delete a file that's "in use"?
Run lsof +c 0 -n 2>/dev/null | grep -F "/.Trash" to see which process has it open, then quit that app. If it's a mounted disk image, eject it. A restart releases every open file.
How do I empty the Trash from Terminal?
Give Terminal Full Disk Access first, or it can't see the Trash. Then run rm -rf ~/.Trash/*, or name one item to be safe. Nothing deleted this way can be recovered.
Why didn't emptying the Trash free up space?
A Time Machine local snapshot may still hold the deleted files, or the space is in another Trash: another user's, an external drive's, or Photos' Recently Deleted. tmutil listlocalsnapshots / shows whether snapshots exist.